
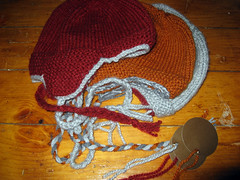
 I finally finished the Thorpe hats. I think the original knitting pre-dates this blog; this picture was just taken in September, but I actually knit the hats back in the early summer. I have so many kids on my Christmas list that if a hand-made gift is an option, I need to start early. (Plus, I was actually in the mood.) I confirmed that the boys would like hats, and kind of goofy would be good. I got a list of their favorite colors and was warned not to spend too much on the yarn because, well, they're kids. Thorpe is decidedly not goofy, but earflaps are fun and certainly not your standard watch cap, so I settled on that pattern using Jiffy Thick & Quick since it happened to come in all 3 of the suggested colors. This week, I finally got the contrasting edging done -- it called for crochet, but I finally decided to pick up & knit stitches all the way around, then bind off. It's pretty close -- and braids (easily cut off if they don't like them).
On my mind for several weeks was how I was going to wrap all these hats (there are 3 more). I figured out a plan, but wanted to wait until I could photograph all the steps (in case it worked). I wanted to use materials I already owned, and the stack of Christmas-themed scrap-booking paper (that I bought to make these garlands) was perfect. Without further ado, may I present
Gift Pouches Tutorial
(Click any image to embiggen)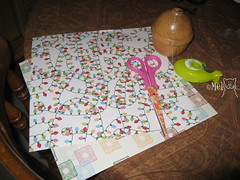 Materials:
• Scrap-booking paper in preferred size (12"x12" shown) - 2 sheets per gift
• String or twine
• Scissors
• Tape
• Not shown: materials for closing. You can sew the edges, use 2-sided tape, use packing tape, etc.
 Oh, and a present to wrap. This method of wrapping is great for odd-shaped objects like this dog toy, or a knitted/crocheted hat.
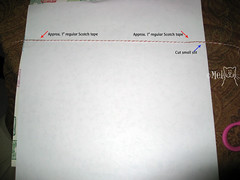 Select a sheet for the front of the package and turn over. On one edge, cut a short slit about 1" long.
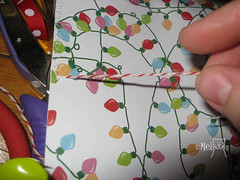
 Cut a length of string or twine a few inches longer than the width of the paper.
About 1/4-1/3 from the top of the page, tape the twine to the back of the paper, using regular desk tape. Only tape an inch or two on each side. If you tape all the way across, the recipient will have to deal with tape either still holding the package shut or just getting in the way.
 Turn the sheet over and pull the string from that edge over into the slit.
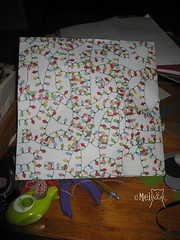 Align the top sheet (with the string) back to back with another sheet of paper (right sides facing out). Using preferred method, close 3 sides of the package, making sure that the twine in the slit is free, and the twine on the opposite edge is secure. (Note: if you sew the sheets together, make sure you use a needle that's reserved for this purpose.)
Place gift in package, then close up fourth side.
 If you like, make a little tab on the end of the string, along with ribbons, bows and gift tags.
Give gift.
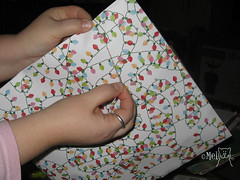 Recipient should grasp an edge, grab the string and pull across the paper. (You can see here that I attempted to sew the sheets together, but my machine refused to cooperate (unrelated to the project*), so I switched to tape, at least for the purposes of this tute.)
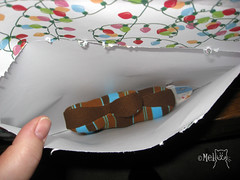 Oh, what's that?
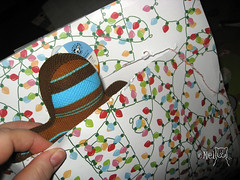 Ta-dah!
*The machine was damaged, ever so slightly, during the move. We learned that the piece that holds on the foot is called the ankle, and that was the piece that was damaged -- just bent enough to prevent the spring from doing its job.


No comments:
Post a Comment