
It usually only takes one request to get me to write a tute, so since persephony4 responded to the previous post with a Yes, please, that's my cue.
These really do well as an assembly-line project; by the time you've finished gluing several, the first one should be dry and ready to fold. Apologies in advance for the lack of measurements. I really just eyeballed the whole thing.
Click any image to view it at a larger size.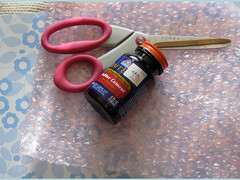 Materials
Scissors
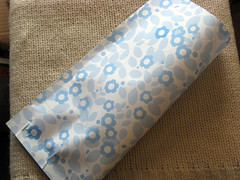
12x12 scrapbook paper - regular weight
Bubble wrap (I save bits and pieces from other packages, you can also buy it at the Dollar Store)
Rubber Cement
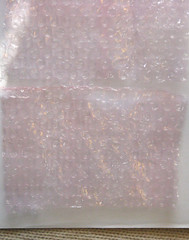 Step 1: Cut up the bubble wrap. For each envelope, you need 2 pieces, roughly 4x6".
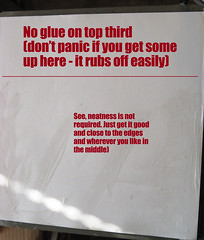 Step 2: On the reverse side of the scrapbook paper, brush on the rubber cement. Leave the top third alone. On the bottom two thirds, brush at least a 1" wide strip down the sides and across the bottom, then just randomly swirl your brush across the middle. Just a little glue will hold the bubble wrap in place -- it's more important that the edges seal well.
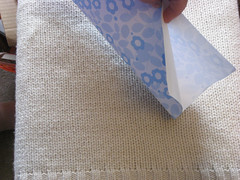
 Step 3: Lay the bubble wrap, flat side down/bubble side up, 1-2" from each edge as shown.
 Step 4: The fun part (not really); wait for the glue to completely dry. When you coat two surfaces with the cement and let them dry before sticking them together, the bond is pretty close to permanent. If you lay the sides together while the glue is wet, the bond is temporary.
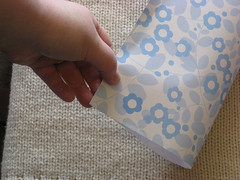 Step 5: Fold. I take the bottom corners and line them up as best as I can, then gently press the edges together, finally running my fingers down the center to crease it.
 Remember that now the glue is dry, it's not very forgiving. So be careful, but don't stress out too much: it's hard to make it exact no matter what, with the extra bulk in the center. You can see that for the demo, I had some creases. It's not the end of the world.
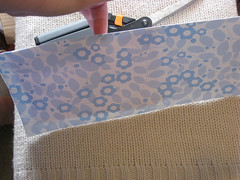
 Step 6: If you left the top third or so free of glue, you should now have a flat tube of sorts, sealed at the bottom and 2/3 of one side (with the fold in the middle).
 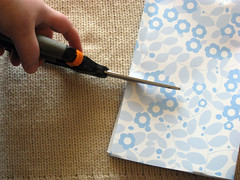 Now, figure where you want the top of the envelope to be and cut across one layer (I usually cut around the 7" mark).
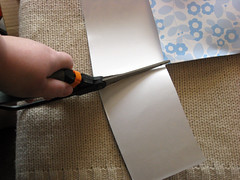 Then cut down the center to the horizontal cut and remove the rectangle.
 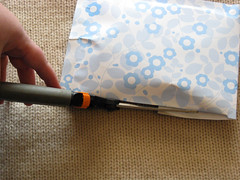 Step 7: Fold down the flap, then look for any white edges and trim.
 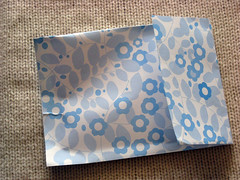 If you want to be extra sure of the edges, secure in a couple of spots with some clear packing tape. When you're ready to mail, add your small items and tape the flap shut.


3 comments:
Great Thanks!!
I have a strange question: I know you are a Joss Whedon fan.. and have made the Jayne hat. What pattern did you use? My boyfriend has asked for one for himself... and our new puppy-- don't ask.. it's a geek thing. I need a pattern that would be easy to scale down for a "kid"/dog-sized companion hat. The few that I have found online are weirdly shaped and kinda lumpy. Any thoughts?
This is very clever! I may try this myself with some leftover cardstock.
Thanks for the tut! i'm definitely going to try some. Have you used them to mail anything yet? Are you just going to use them like you would regular (and more boring) envelopes?
C
Post a Comment